If you’ve been thinking about starting locs but feel nervous about where to begin, you’re not alone. In fact, many first-timers feel excited and overwhelmed at the same time. That’s exactly why this guide on How to Start Locs: A Simple Guide for First-Timers is here, to make the process feel simple, realistic, and encouraging.
I still remember when my cousin Ada decided to begin her loc journey. At first, she kept asking if the “ugly stage” would make her regret it. However, three months later, she couldn’t stop smiling at how much healthier and fuller her hair looked. That experience showed me something important: locs are not just a hairstyle, they’re a lesson in patience, confidence, and self-love.
So, if you’ve been searching for honest, beginner-friendly advice, you’re in the right place. Throughout this guide, you’ll learn exactly how to prepare your hair, choose the right starter method, avoid common mistakes, and care for your locs with confidence. More importantly, you’ll feel ready to enjoy the journey instead of stressing through it.
Why Locs Are Worth It
To begin with, African locs are one of the best protective styles for natural hair. Because afro-textured hair naturally coils and tangles, it locks beautifully over time. As a result, locs help reduce daily manipulation, retain length, and protect your strands from breakage.
In addition, locs are versatile. You can wear them up, down, braided, curled, or accessorized. Even better, they allow you to celebrate your natural texture without constantly fighting it.
Benefits of locs Hairstyle:
- less daily styling stress
- better length retention
- reduced breakage
- versatile styling options
- beautiful cultural expression
That said, locs still need proper care. Therefore, starting the right way matters more than most beginners realize.
How to Start Locs: A Simple Guide for First-Timers
Step 1: Get Clear on Why You Want Locs
Before you begin, pause and think about your reason for starting. This step may seem simple, but it matters more than people think.
For example, ask yourself:
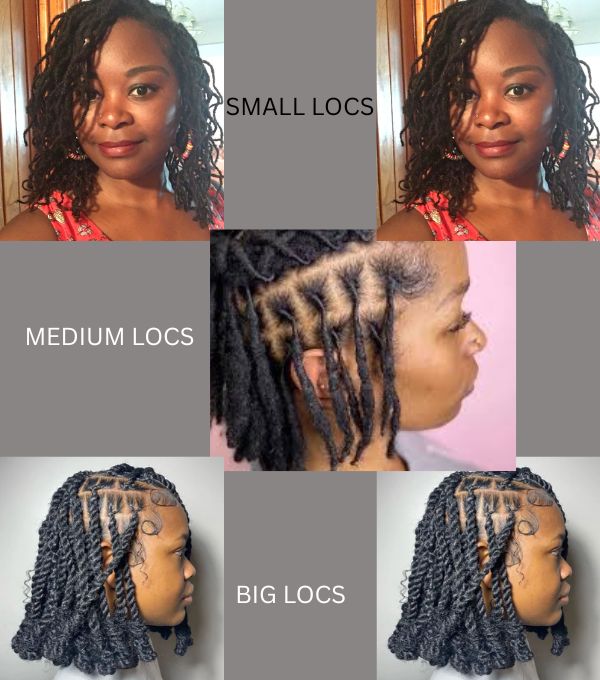
- Do I want small, medium, or thick locs?
- Do I prefer a neat look or a more natural look?
- Am I ready for the starter phase?
- Can I stay patient for several months?
Because the first stage of locs often comes with frizz, puffiness, and shrinkage, your mindset matters. Therefore, when you know why you’re starting, it becomes easier to stay committed.
This will help you explain your goals clearly if you work with a loctician.
Step 2: Start With Clean, Healthy Hair
Next, make sure your hair is in the best possible condition before starting locs. This step is essential because dirty or product-heavy hair can lead to buildup later.
First, wash your hair thoroughly. Then, clarify your scalp well. After that, trim split ends if needed and gently detangle.
Do this before your starter locs:
- wash with a clarifying shampoo
- deep cleanse scalp
- trim damaged ends
- detangle carefully
As a rule, clean hair gives your locs the best chance to form properly.
Product recommendation:
Use a sulfate-free clarifying shampoo or apple cider vinegar rinse.
Why this helps:
Because starter locs trap product faster than loose hair, lightweight cleansing is key.
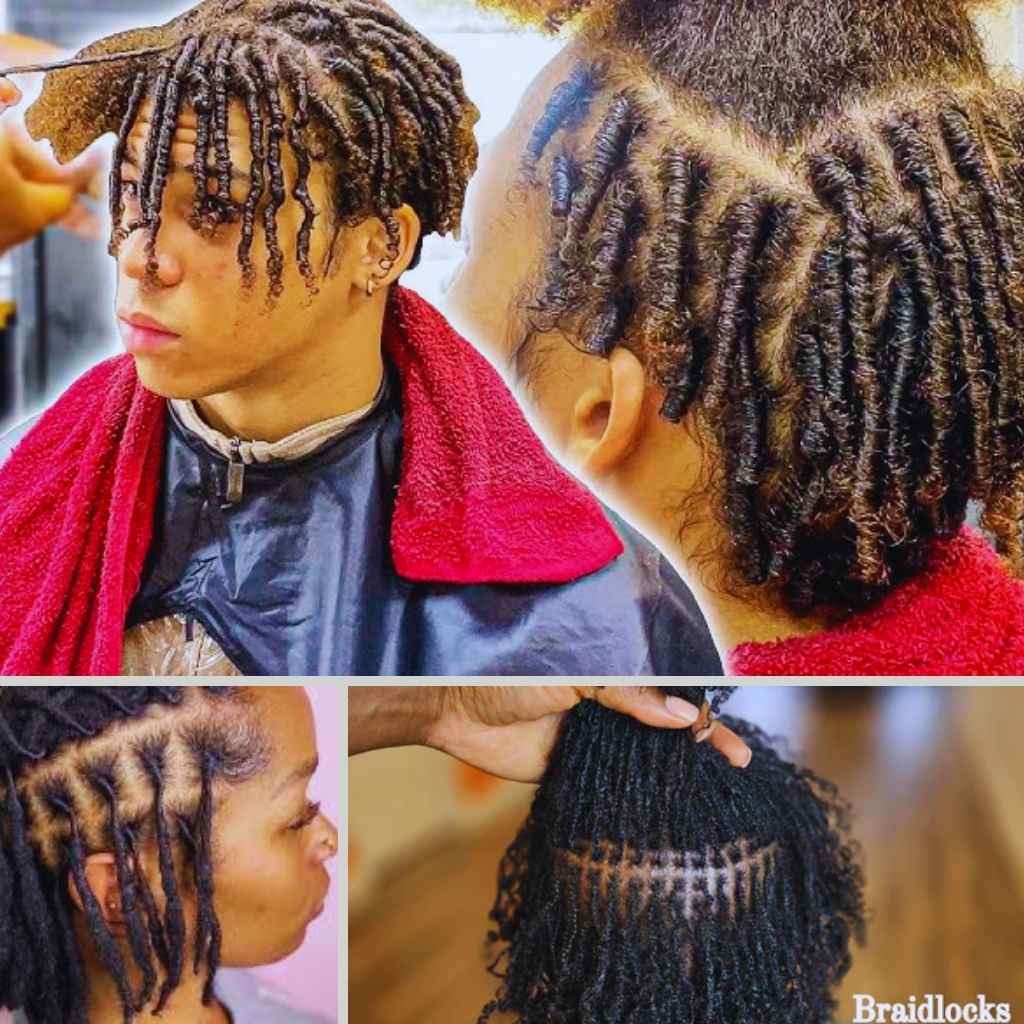
Step 3: Choose the Right Starter Loc Method
Now that your hair is clean, the next step in How to Start Locs: A Simple Guide for First-Timers is choosing the right starter method.
This matters because your method affects how neat your locs look, how fast they lock, and how much maintenance they need.
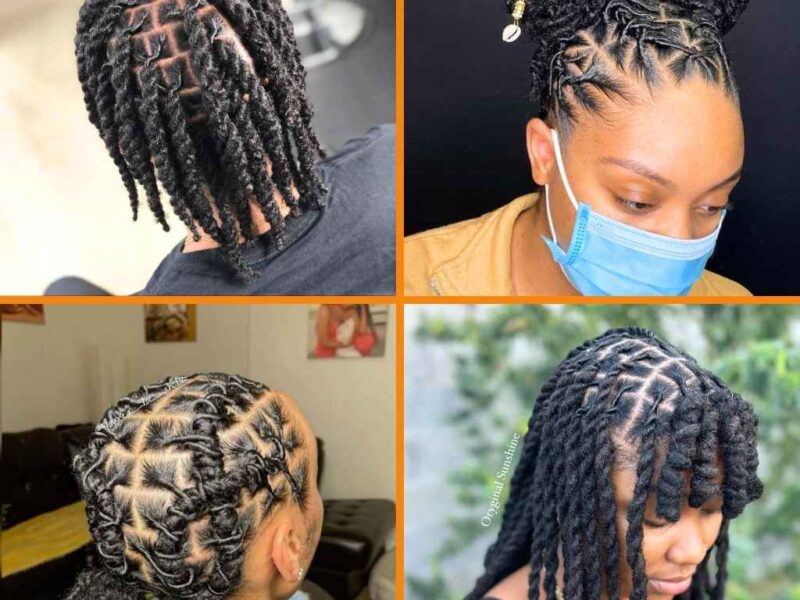
Most common starter methods:
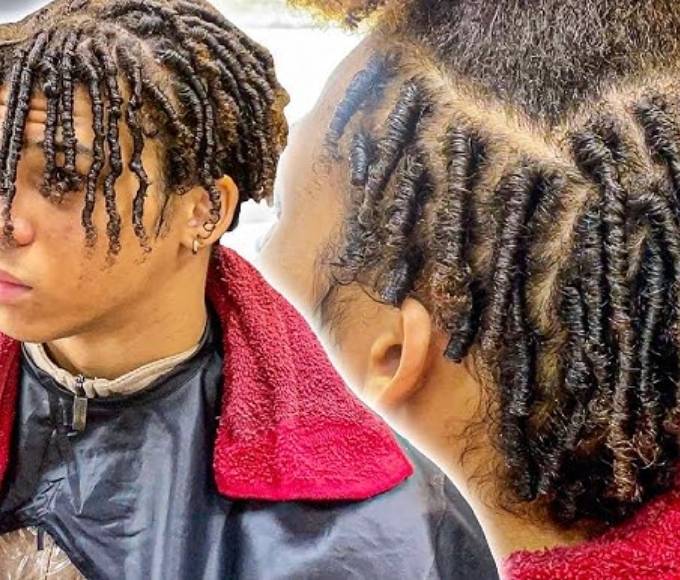
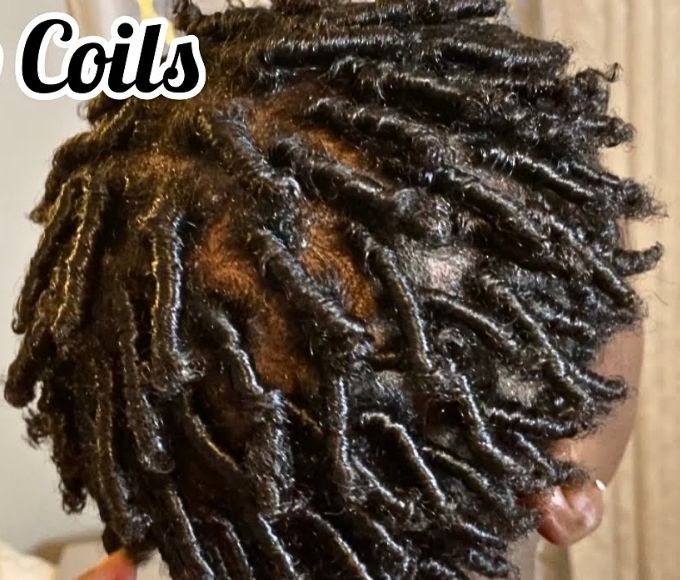
Comb coils
A friend of mine once started with comb coils because she loved the neat look. Still, after her first wash, she panicked because they puffed up overnight. However, six months later, her locs became some of the healthiest I had seen. That moment reminded both of us that progress often looks messy before it looks beautiful.
Best for:
- shorter hair
- tighter curl patterns
Because comb coils look neat from day one, many beginners love them. However, they may unravel faster.
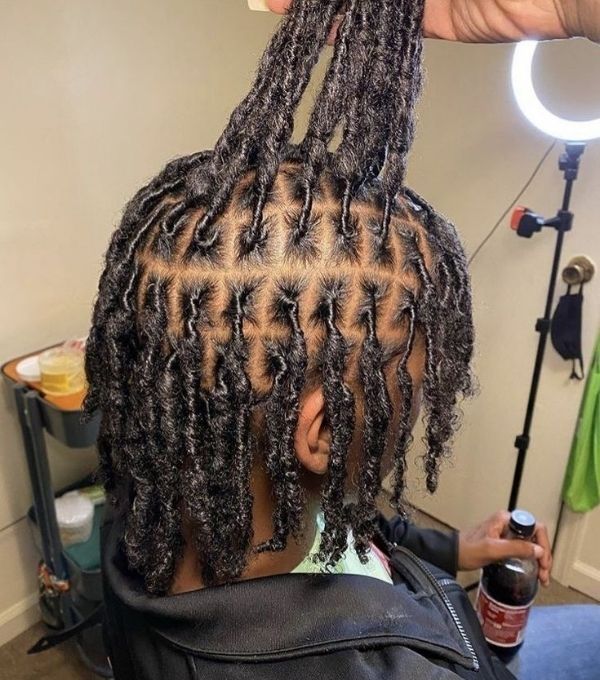
Two-strand twists
Best for:
- medium to thick hair
- people who want more hold
As a bonus, twists usually last better after washing.

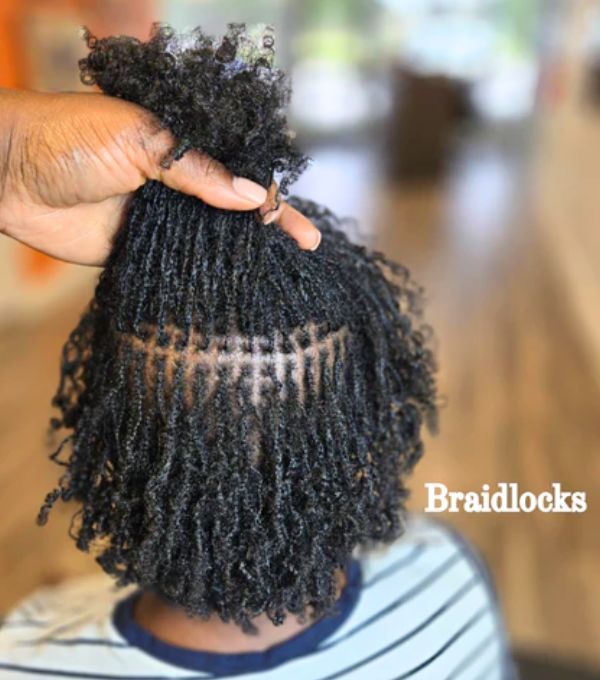
Braids
Best for:
- softer textures
- people who want secure roots
Although braids take longer to lock, they can feel easier for beginners.
Product recommendation:
Use aloe vera-based locking gel or lightweight twisting butter.
Avoid:
- beeswax
- petroleum
- thick grease
Step 4: Get Your Parting Right
After choosing your starter method, focus on parting. Even though this step seems small, it affects how your locs will look for years.
In other words, good sectioning creates balance, fullness, and styling flexibility.
Popular parting styles:
- square parts
- brick pattern
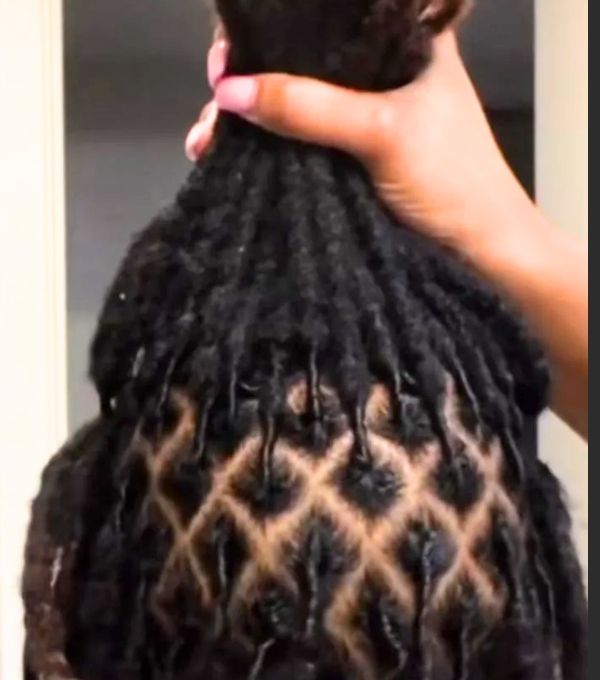
- diamond parts
Beginner advice:
For most first-timers, medium-sized locs are easier to maintain. Likewise, neat parts can make your loc journey feel more polished in the early stages.
Product recommendation:
Use:
- rat-tail comb
- sectioning clips
- water mist bottle
Because neat sections reduce tension, your scalp will thank you later.
Step 5: Wash Your Starter Locs the Right Way
Many beginners avoid washing because they fear unraveling. However, that mistake can cause itchiness, flakes, and buildup.
So yes, you should wash your starter locs.
Beginner wash routine:
- wash every 2–4 weeks
- use lukewarm water
- focus on scalp first
- rinse thoroughly
- dry completely
In addition, be gentle while washing. Instead of scrubbing harshly, massage your scalp lightly.
To reduce unraveling:
- wash with a stocking cap at first
- squeeze out water gently
- pat dry with microfiber towel
Product recommendation:
Use a microfiber towel and bonnet dryer.
Because damp locs can smell musty, always let them dry fully.
Step 6: Moisturize the Smart Way
At this point, moisture becomes your best friend. Still, many beginners overdo it.
Unfortunately, heavy creams and thick oils can sit inside your locs and cause buildup. Therefore, less is often better.
At one point, I helped a friend restart her loc routine because her hair looked dull after only a few weeks. She had been layering thick shea butter daily. Once she switched to rose water spray, her scalp improved quickly. As a result, her locs looked fresher and felt softer within days
Keep moisture simple:
Use:
- rose water spray
- aloe vera mist
- distilled water mix
Then, lightly seal with:
- jojoba oil
- grapeseed oil
Step 7: Protect Your Locs at Night
Meanwhile, nighttime care is one of the easiest ways to protect your progress. Without proper protection, your locs can:
- dry out faster
- attract lint
- frizz easily
Night routine:
- wear satin bonnet
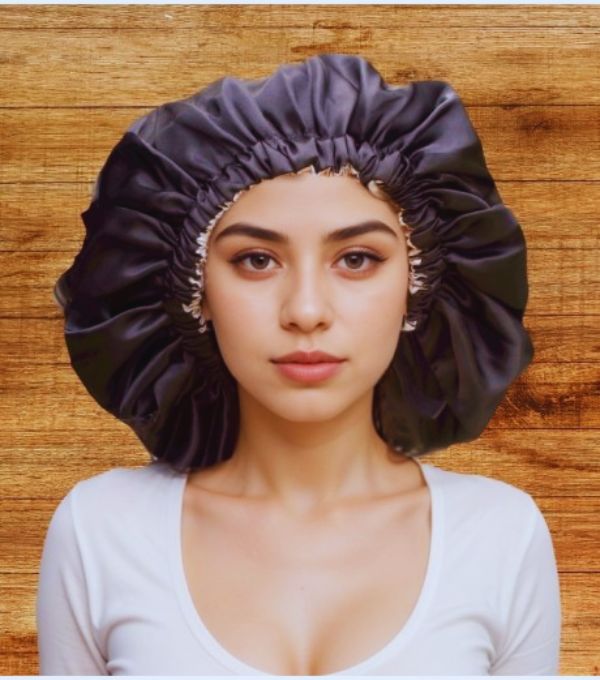
- use silk scarf
- sleep on satin pillowcase
Because friction causes dryness, this habit makes a huge difference over time.
Step 8: Retwist Gently and Patiently
Eventually, your roots will grow out. At that stage, you may feel tempted to retwist often. However, too much retwisting can weaken your roots.
Safe retwist schedule:
- every 4–6 weeks
- longer if your hair feels healthy
Retwist tips:
- retwist on clean hair
- use light gel
- avoid tight pulling
- dry fully before unclipping
Product recommendation:
Water-based loc gel and double-prong clips. Most importantly, don’t chase perfection. A little frizz is part of the journey.
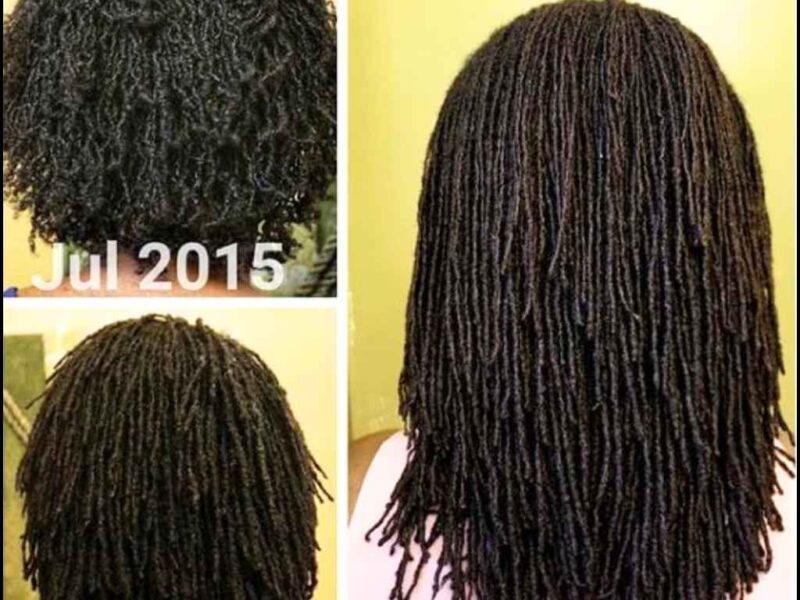
Step 9: Trust the Process
Finally, the biggest lesson in How to Start Locs: A Simple Guide for First-Timers is learning to trust your hair. At first, your locs may look uneven. Then, they may swell, shrink, or frizz. Even so, that doesn’t mean something is wrong.
Instead, it means your hair is doing exactly what it should.
To stay encouraged:
- take monthly photos
- avoid comparing your journey
- celebrate small progress
- stay consistent
Over time, you’ll begin to appreciate every stage.
Common Beginner Mistakes to Avoid
To make your journey easier, avoid these common mistakes:
- over-retwisting
- skipping wash days
- using wax
- comparing your hair to others
- sleeping without satin
Instead:
- keep products light
- protect your scalp
- trust your texture
- be patient
Conclusion
Starting locs can feel exciting, emotional, and even a little scary. However, once you understand the basics, the process becomes far less intimidating.
So, if you’ve been waiting for the perfect time, this is your sign. Start simple. Stay consistent. Be patient.
Because in the end, How to Start Locs: A Simple Guide for First-Timers is not just about hair. Rather, it’s about learning to trust yourself, embrace your natural beauty, and enjoy the journey one stage at a time.
You will also love 15 low maintainance haircut that look Expensive Without the Effort